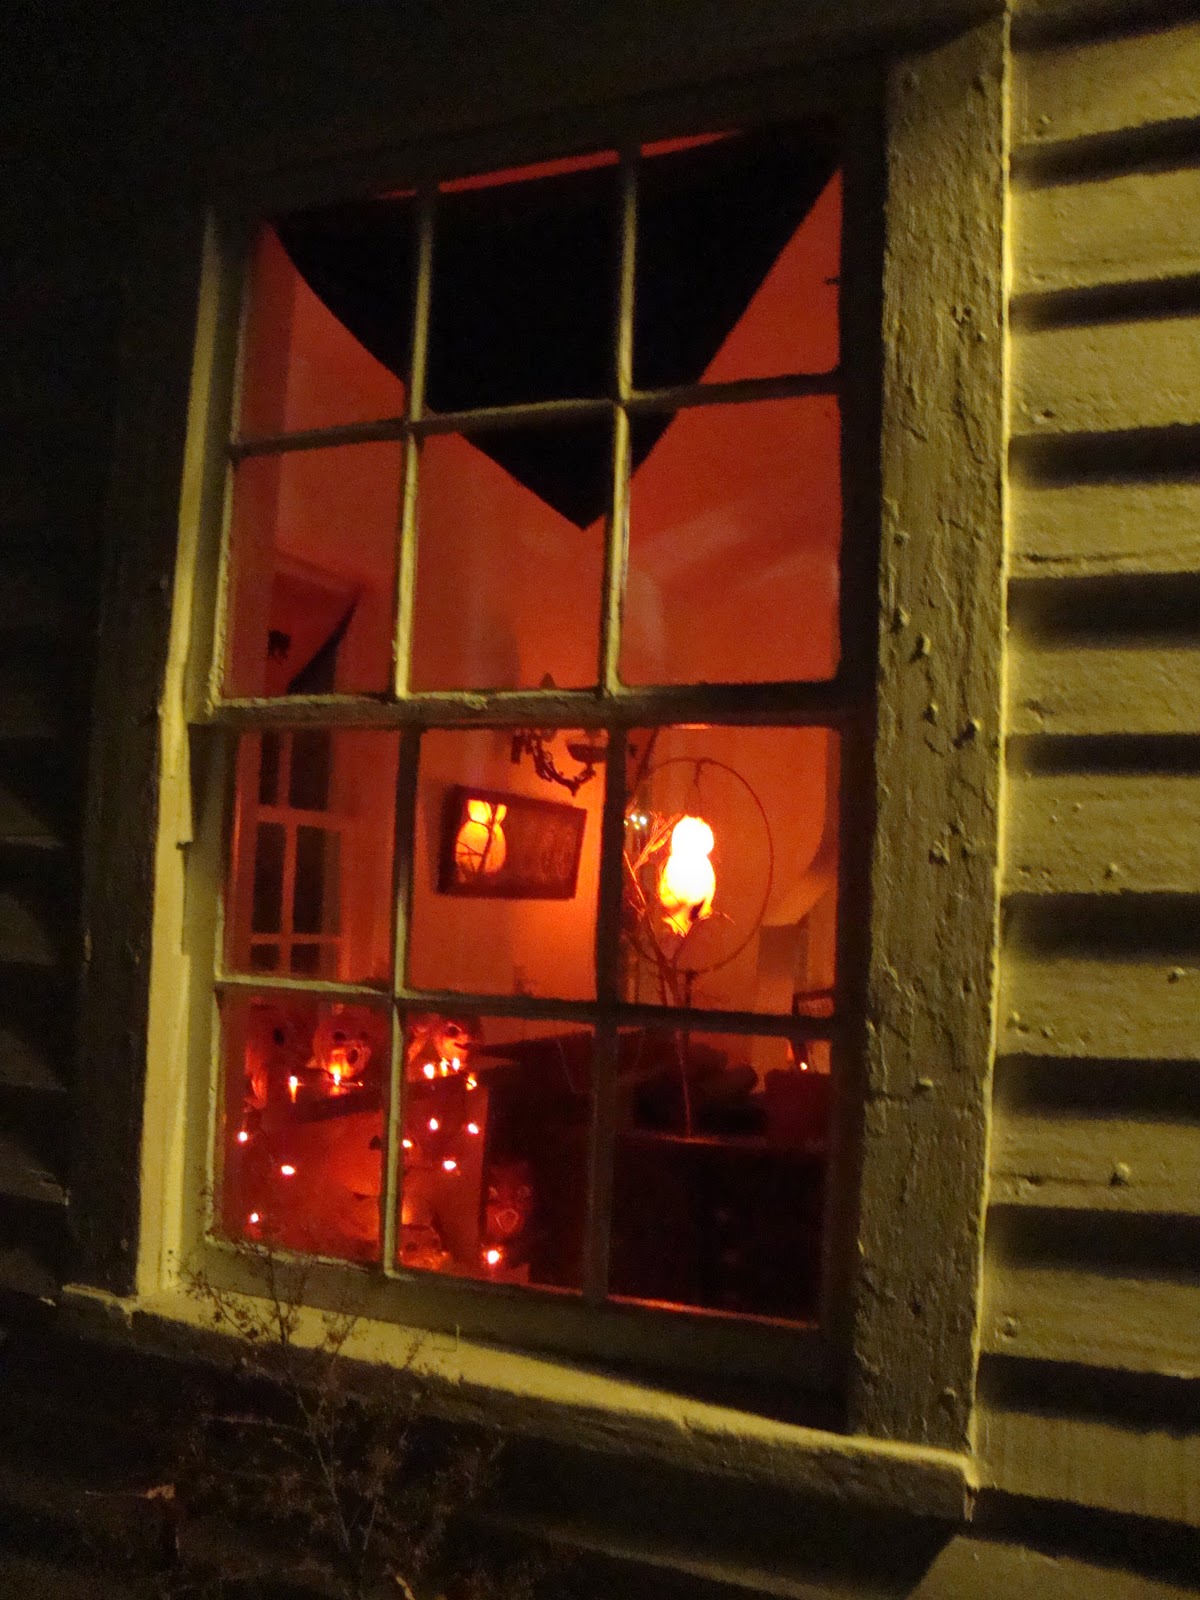
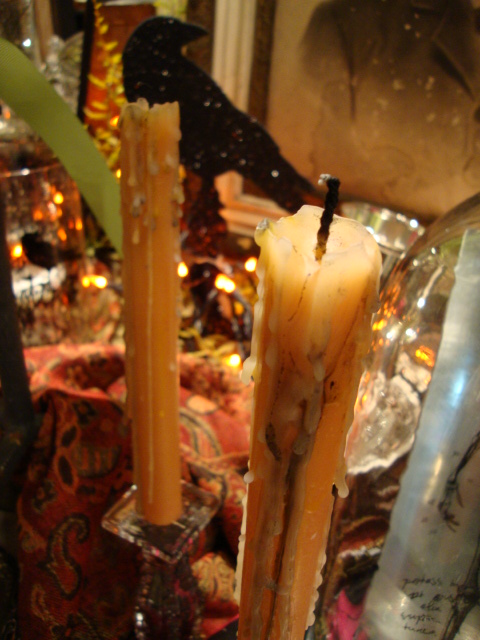
This year's Halloween theme at the store revolves around the feeling of an old spooky haunted house, so, of course, we needed some drippy candles to carry out the theme.
So we went to work creating such drippy candles to fill the candelabras outside...
and more drippy candles to help create haunting displays inside.
So we thought we would share how we made these to-die-for candles.
We started by sitting the candle we wanted in a candle holder
(use an old candle holder if you do not want wax all over it)
Place it on top of some newspaper or something to protect your work space. Keep in mind that you want to start with a taller candle than the length you want to end up with.
After letting it burn a while, we lit a second candle
With the second candle, we began "working" the edges of our desired candle, creating small drips all around the candle. Be sure to let the drips cool so the next drip you create will "cling" to the cooled drip, creating bigger drips.
(it's tough working with a bunch of drips...!!
hee hee...had to say it!)
For extra wax, begin to melt the second candle onto the first candle, letting the drips run down the first candle.
You can use a different color candle if you like. We used a white candle on top of the orange candle above, but red, purple or black would make for some fun combinations as well.
Keep going until you have all the drips you desire...
your guests will scream with delight!